使用AntDesignBlazor的Notification等组件

1.新建项目
打开VS,新建一个名为BlazorApp的Blazor项目,至于是Server还是WASM都可以。
2.安装NuGe包
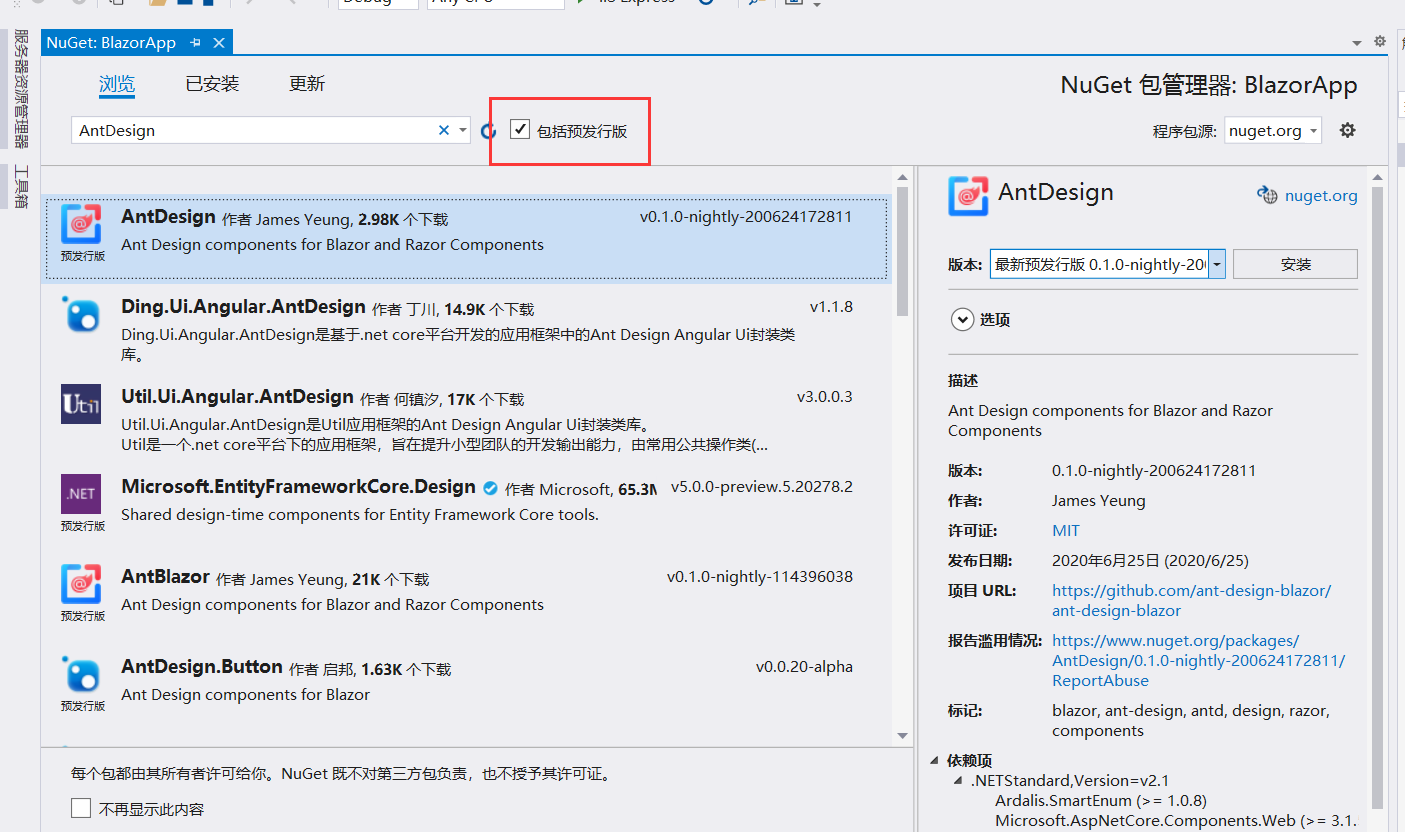
在项目上右键,选择“管理NuGet程序t包”,在搜索界面上勾选“包括预发行版”,然后搜索AntDesign,如下图所示第一个即为本程序的nuget包(不要选择安装第5个AntBlazor,这个是以前的名字),选择安装即可。
3.配置项目
使用ant-design-blazor的Notification、Message、Comfirm、Drawer(服务形式创建),主要需要配置服务的注入与全局容器的添加。
3.1.添加服务
Server项目在Startup.cs 的ConfigureServices方法中添加
1 | `services.AddAntDesign();` |
WASM项目在Program.cs的方法中添加Main
1 | `builder.Services.AddAntDesign()` |
3.2.添加命名空间引用
为了便于使用,需要在_Imports.razor中加入命名空间AntDesign:
1 | `@using AntDesign` |
如果不在_Imports.razor添加对AntDesign的引用,则需要在各个组件中添加@using AntDesign。
添加全局容器
找到App.razor组件,在最下面添加全局容器AntDesign
1 | `<AntContainer />` |
添加js与css
参考 https://ant-design-blazor.github.io/zh-CN/docs/introduce,此处不赘述。
4.在组件中使用
打开Index.razor组件,更改其代码如下:
1 | `@page "/" @inject NotificationService _notice <Button Type="primary" OnClick="Notice">Notice</Button> @code{ private async Task Notice() { await _notice.Info(new NotificationConfig() { Message = "Title", Description = "here is the message" }); } }` |
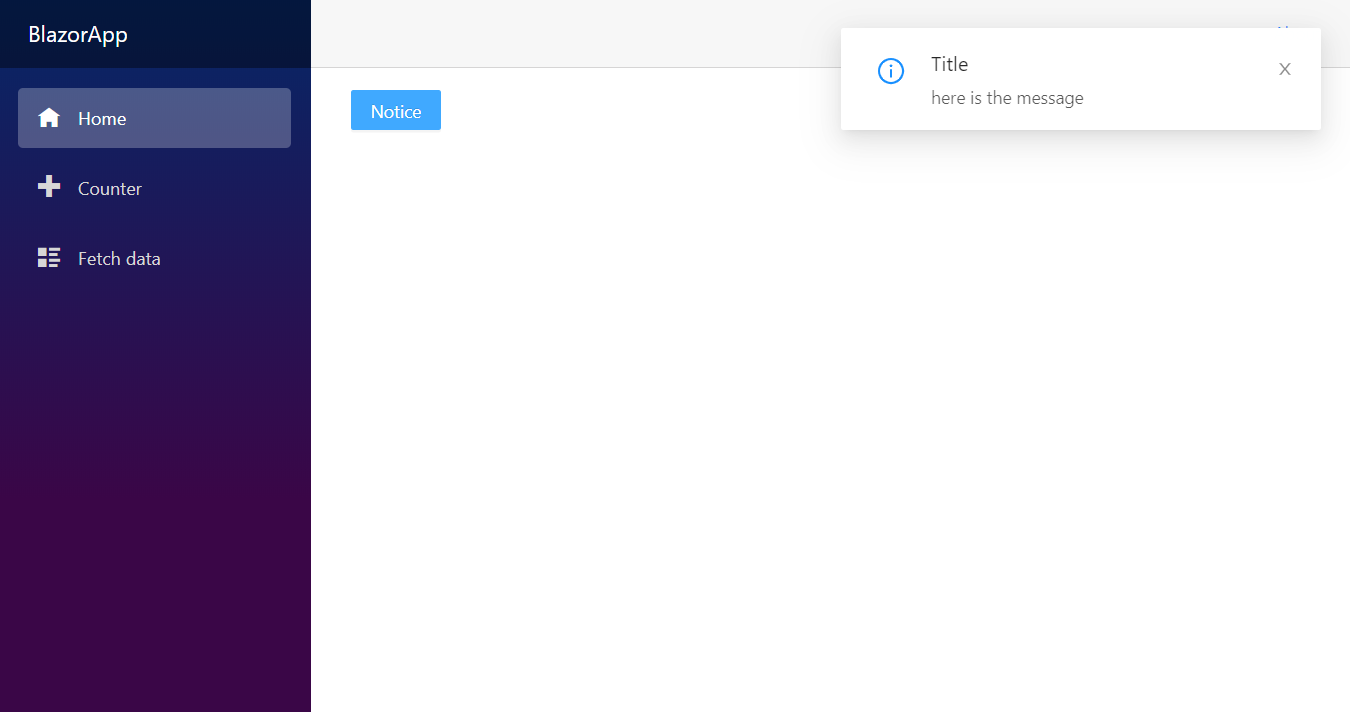
如果没有问题,运行程序点击Notice按钮后,界面如下图所示。(注:由于这里我没有删除对bootstrap样式的引用,所以Icon行为与官方的稍微有点差别)。
当然,你也可以使用模板来创建项目 https://github.com/ant-design-blazor/Template。